Land Sesson Outline
This land lesson was developed by Steve Burt. His notes follow.
Intro and Goal
The idea of this lesson came about because I found many new sailors having trouble connecting all the dots of what to do with their body. Having a comfortable body position that lets you position (and reposition) your weight and use your muscles effectively to hold the sheet and tiller is a foundation that makes everything else in sailing easier.
Teaching this on the water is difficult (not good to be looking at your feet or hands while driving), and even demoing it is difficult because of distractions. And you can only teach two or three students at once on the water whereas a land lesson can support 5 to 10 per boat. Doing it on land means you can easily demo what you are doing, speak in a conversational voice, and let students get an up-close look from several angles.
The scope of this lesson is intentionally limited -- it is really important that students understand the fundamentals before moving on. You will frequently get students who want to jump ahead or cover other topics; it’s OK to say “I’ll get to that later” or “We won’t be covering that today”. Similarly, as an instructor, you need to resist the urge to add in extra information that distracts from the topic at hand.
I have taught this twice and found that I spend about 45 minutes on body position and about 45 - 60 minutes on tacking, including time for students to try everything. For a bigger group, you could probably use two boats.
Setup:
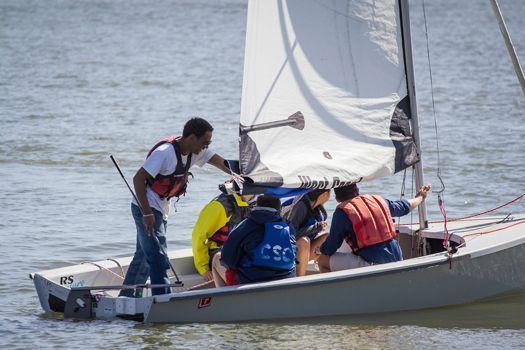
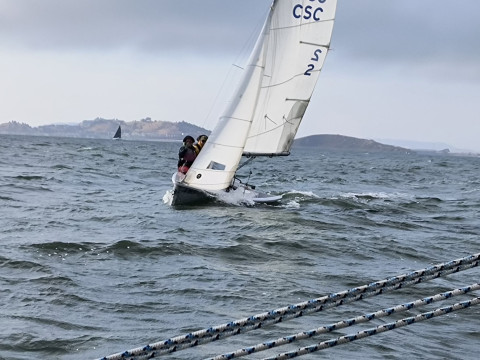
Pull a Quest out (Toura probably OK too) and drop it on the astroturf, either using the crane or just with 4-6 volunteers. Tie the sail to the boom and raise the boom using the main halyard. Install the rudder (in the up position) and throw some PFDs underneath to cushion it if it falls; you could also tie it up with a strap.
I wouldn’t recommend using a JY since they are overall more fragile and the hull is curved instead of chined. It has also been suggested that we could leave the boat on the cart and put a cooler underneath, but it seems a lot more unstable and I would really hate to see a boat tip over or a person fall out. Just drop it on the ground.
Finally, some Quests have too long of a hiking strap in the back (front strap in back strap position), it usually isn’t a big deal on the water when the boat is a little heeled, but it can cause problems on the land, avoid those or fix the strap.
Syllabus:
Part I: Hiking out, body position, tiller & main sheet
(Talk) Why body position is important: comfort, control, visibility, ergonomics.
(Talk) Role of skipper in dinghy: usually tiller and main, need to be able to handle both.
(Talk) Basic body positions for medium+ winds: sitting on gunwhale and hiking out.
(Talk) lighter winds, docking -- sit lower, even stand. Or make crew sit low.
(Demo) Transitioning from standing/kneeling in the center of the boat, to gunwhale, to hiked out, to hiked out hard and back in again.
(Demo) Comfortable hiking position -- toes in strap, butt over side, body vertical. Key thing to show is just how far you can get out and how this position should be fairly sedate.
Bad hiking positions (butt on gunwhale with body flat, body twisted)
Looking forward, sheeting without looking at hands or tiller.
Stop here and let students try it out.
(Demo) Holding the tiller: frying pan versus microphone vs everything else.
(Demo) Sheeting with microphone grip. Failing to sheet with frying pan.
(Demo) Sheeting entire length of main sheet quickly
(Demo) Holding both in one hand in case you need to do something with the other hand.
(Talk) Things not to do -- wrap sheet around wrist. Hold sheet in mouth. Wrap sheet around tiller. Rely on mainsheet cleat.
(Demo) Hand over hand sheeting to sheet quickly. Sheeting quickly with big arm movements.
(Talk) Use of mainsheet to control heel -- should become instinctive as you gain proficiency.
Stop here and let students try it out. Look for students using frying pan -- show them that they can’t sheet quickly.
Part II: Tacking
Note: I recommend practicing a few tacks yourself before the class. Go very slowly and break down what you do so you can talk through it. My general cues are 1) head up, looking in intended direction (90 degree windward and then forward) 2) ease mainsheet slightly and come in out of the hiking strap 3) tiller out of microphone and begin turn 4) back foot across 5) eyes still looking forward, waiting for sail to come across 6) both hands on tiller 7) shift weight to back foot as sail comes over 8) release “old” tiller hand and 9) sit down on new side, ready to straighten tiller 10) grab sheet and switch to microphone grip. 11) sheet main and straighten tiller to new course. The exact order of this will vary depending on how hard they turn, where the weight needs to be to keep the boat flat, etc. Generally the key things to keep in mind are head up and looking in direction of travel, back foot first, and both hands on tiller to make the switch, everything else will flow out of that.
(Talk) Tacking -- course (90-120 degree turn through eye of wind)
(Talk) Where to look (where the boat will go), keeping your eyes out of the boat
(Talk) Looking upwind (over shoulder) before tack to clear area; danger areas (upwind boat on same tack, crossing boats, swimmers, sailboards etc)
(Talk) Priorities in tack -- make it through turn before losing speed. Less important -- keeping sail sheeted in.
(Talk) Dangers -- Cleated main. Backwinded jib. Look if you crew is having trouble and abort
(Demo) Switching to frying pan and sliding in, starting turn, stepping in once sail start to flog.
Call attention to back foot; show what happens if you go front foot first (end up facing backwards)
(Demo) Centering weight, grabbing tiller behind back, looking forward, watching boom come around. Steering in this position. Aborting.
(Demo) Finishing the tack; swapping tiller hands; sitting down, returning to microphone
Stop and let students cycle through.
Wrap up; answer questions, etc